Today’s tutorial is to teach you how to do some super basic, super adorable nail art. You can do this with a dotting tool that you can buy at any beauty supply or craft store, or with any random bobby pin, toothpick, or paper clip that you can find on the floor of your filthy apartment. (Sorry! Projecting!)
Since Easter is coming up, I wanted to showcase some pastels but you can duplicate this with any colors you’d like.
Keep in mind that with dots, the best colors to use are colors that are opaque in one coat, so that they show up right away.
I used:
- Base Coat: Orly Bonder
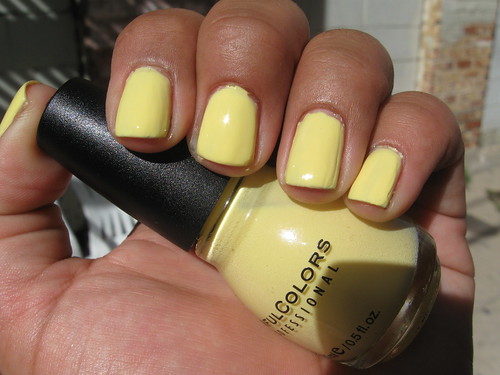
- Base Color: Sinful Colors Unicorn
- Dots: American Apparel Coney Island
- Top Coat: Seche Vite
- Top Coat: Essie Matte About You
- Additional:
- Index card (scrap sheet of paper, paper plate, whatever) to use for your dots
- Q-tips and cotton balls for clean up as needed
- Acetone/NP remover for clean up as needed
Step 1:
Make sure you have everything you’re going to use neatly assembled.
Prep and paint your nails with your base coat and base color. I chose Sinful Colors’ Unicorn. This is a pastel yellow. The interesting thing about yellow pigments is they are incredibly difficult to work with. They are little bitches. This was streaky and patchy and took several coats for me to be okay with it. I still am not happy with the base. So you might want to pick a less finicky base color if you want this to be easier.
Step 2:
Put a little tiny dab of your dot color onto your index card/whatever you’re using as a palette.
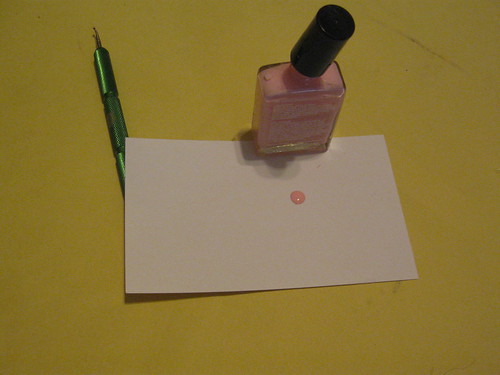
The thing about this is it can be a bit wasteful of colors so you may not want to use your bottle of RBL Stormy (insert any additional extremely expensive polish you may own here) for making dots. Any of the cremes from drugstore brand Wet N Wild’s Wild Shine line are very opaque. I went with American Apparel’s Coney Island.
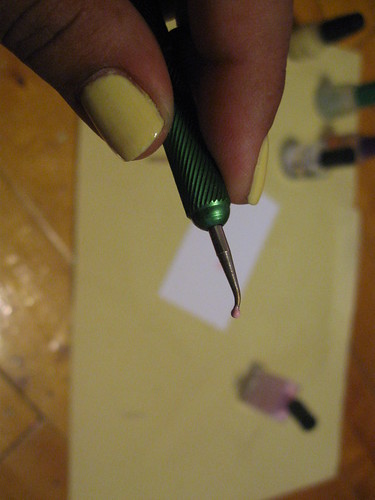
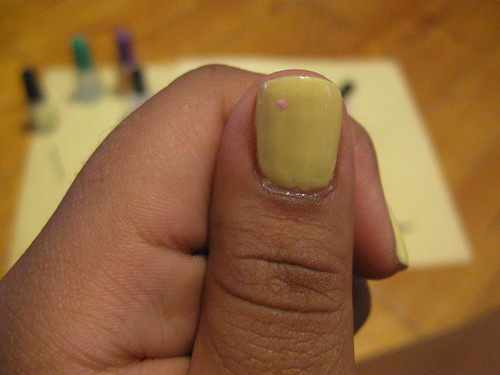
After you’ve put a little bit out, dip the dotting end of your dotting tool, be it an actual dotting tool or a bobby pin, into the polish and then quickly dot it to your nail. BE GENTLE. Don’t stab it on. The bigger the end of the dotting tool you use, the bigger the dot.
Step 3:
Continue! Dot as much as you want! It’s so easy!
Step 4:
Let it dry before putting any top coat on it. It’d be the worst if you smeared all of your dots.
Because I was going for a very specific Easter egg look, I chose Essie Matte About You (which is now available at drugstores) to give it that not shiny, eggshell look.
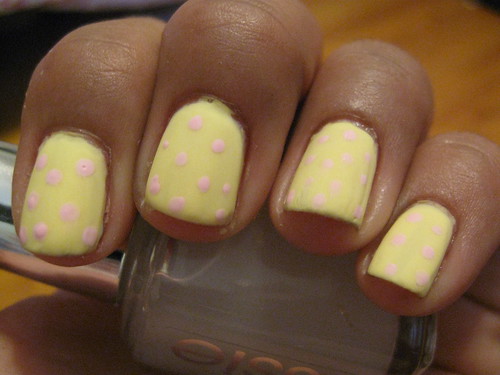
If you try this look, please, post a picture!
For previous nail art tutorials and info visit here, here and here.